Showing posts with label chairs. Show all posts

Tuesday, January 24, 2012

Fresh and New, Spring Is In The Air

I am so excited to have this project finished. I really love finishing a bigger project like this,
but I am ready for a few smaller projects for a change.

I can't find the before picture of the table,
I
but this one is a table I restored over a year ago and it is very similar.
And, these are the four chairs in this makeover.

And here is the after!

I don't have a good staging area in my house, so my pictures
are usually taken at the antique store.
This is at Sentimental Journey, so for any of you that are in the
Kansas City area I would love to know if you ever get a chance to stop by.
I was out of chalk paint, so I decided to make my own with
plaster of paris. It did not work out too well ( it was sort of gravely)
so I guess I might try it again with the unsanded grout that others have
had such good luck with.
I ended up sanding my gravely paint down and recoating with
Cashmere White by Glidden in Satin.   I then distressed it with my sanding block.
More so on the chairs than the table.
A little on the base,
and the edges.  I really love a little distressing, but I can't seem to
bring myself to heavily distress something that I have spent so much time painting.
I am very happy with the results. It seems to have such a fresh and clean look,
I love this shabby chic look, it makes me think that spring is in the air.

Be sure to link up to Restyled Sundays going on now.


I am linking up to these parties:


Domestically Speaking


Furniture Feature Fridays

Monday, October 24, 2011

Little Red Chair, Come On Over

This is another one of those posts that only shows the after:(

But, the after is so cute, it is all ok.  This was just a plain wicker childs chair
that I decided to spruce up a little.

Some red gloss paint and a cute little cushion brought it right up to date.
I made  the cushion reversible for a quick change up.

I think this is perfect for Grandma's house.
Check it out at Lone Elm Antiques in Olathe, Ks if you are in the area.

Linking to the following parties:
UndertheTableandDreaming


Saturday, September 24, 2011

Shabby Chic Rocking Chair

I found this sweet little rocking chair at the antique mall when one of the dealers was clearing out her stuff. She originally had it marked at $15 and when everything was at 50% off I couldn't resist.

I just fell in love with this carved back. It is just so feminine.

After a couple of coats of Krylon's Ballerina Slipper spray paint she is fit for a princess.

I just happened to have this soft paisley fabric to cover the seat.

A closer look at the back.  I hope someone likes her as much as I do.

Linking to the following parties:

 
Redoux


Monday, August 1, 2011

Antique Chairs With an Updated Look

I really need to quit shopping at my own antique mall. I keep finding the best bargains, but my basement won't handle much more furniture. I have so many projects going that I barely have room to move.

Well, I came across four of these chairs in a booth marked 75% off. The best part was that they were originally $10 each. That means $10 for four chairs!? Wow, but would my daughter just kill me for buying one more project?  The problem was the seats looked like this.

All four of them were cracked and coming apart. I bought them anyway.
She showed up about 30 minutes later and she thought they were awesome. And,
she had a great idea on how to fix them! I was so relieved.

This is what they looked like as I was unraveling them.  I have so much respect for the talented people who weave these rush seats to begin with. That is a challenging job. More than I care to take on.

These particular chairs had removable seats. Four screws and they were off.

Here is the seat after I unscrewed it. You can see I still had a little of the rush to remove. Oh my, were my fingers ever tired!

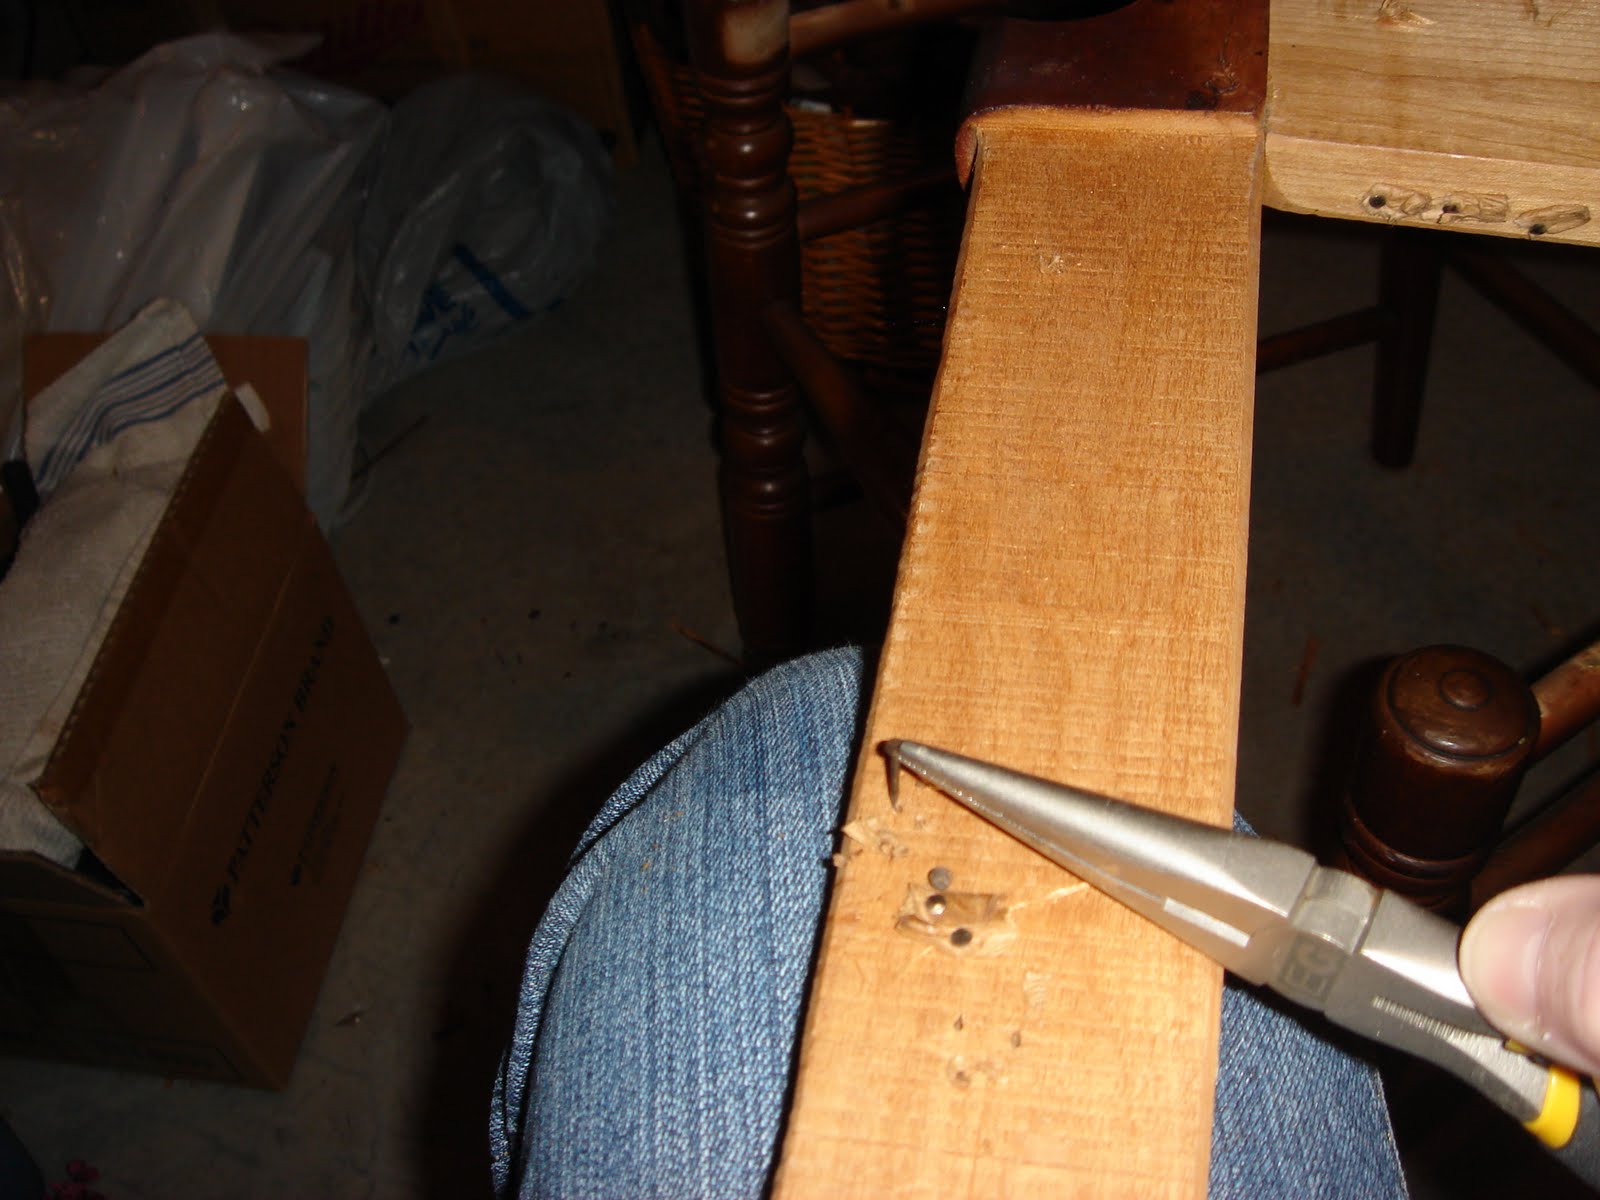
I used a pair of needle nose pliers to remove the remaining tacks that held the ends of the rush.

One of these four chairs was fairly wobbly. I glued it and clamped it overnight and it was a rock.

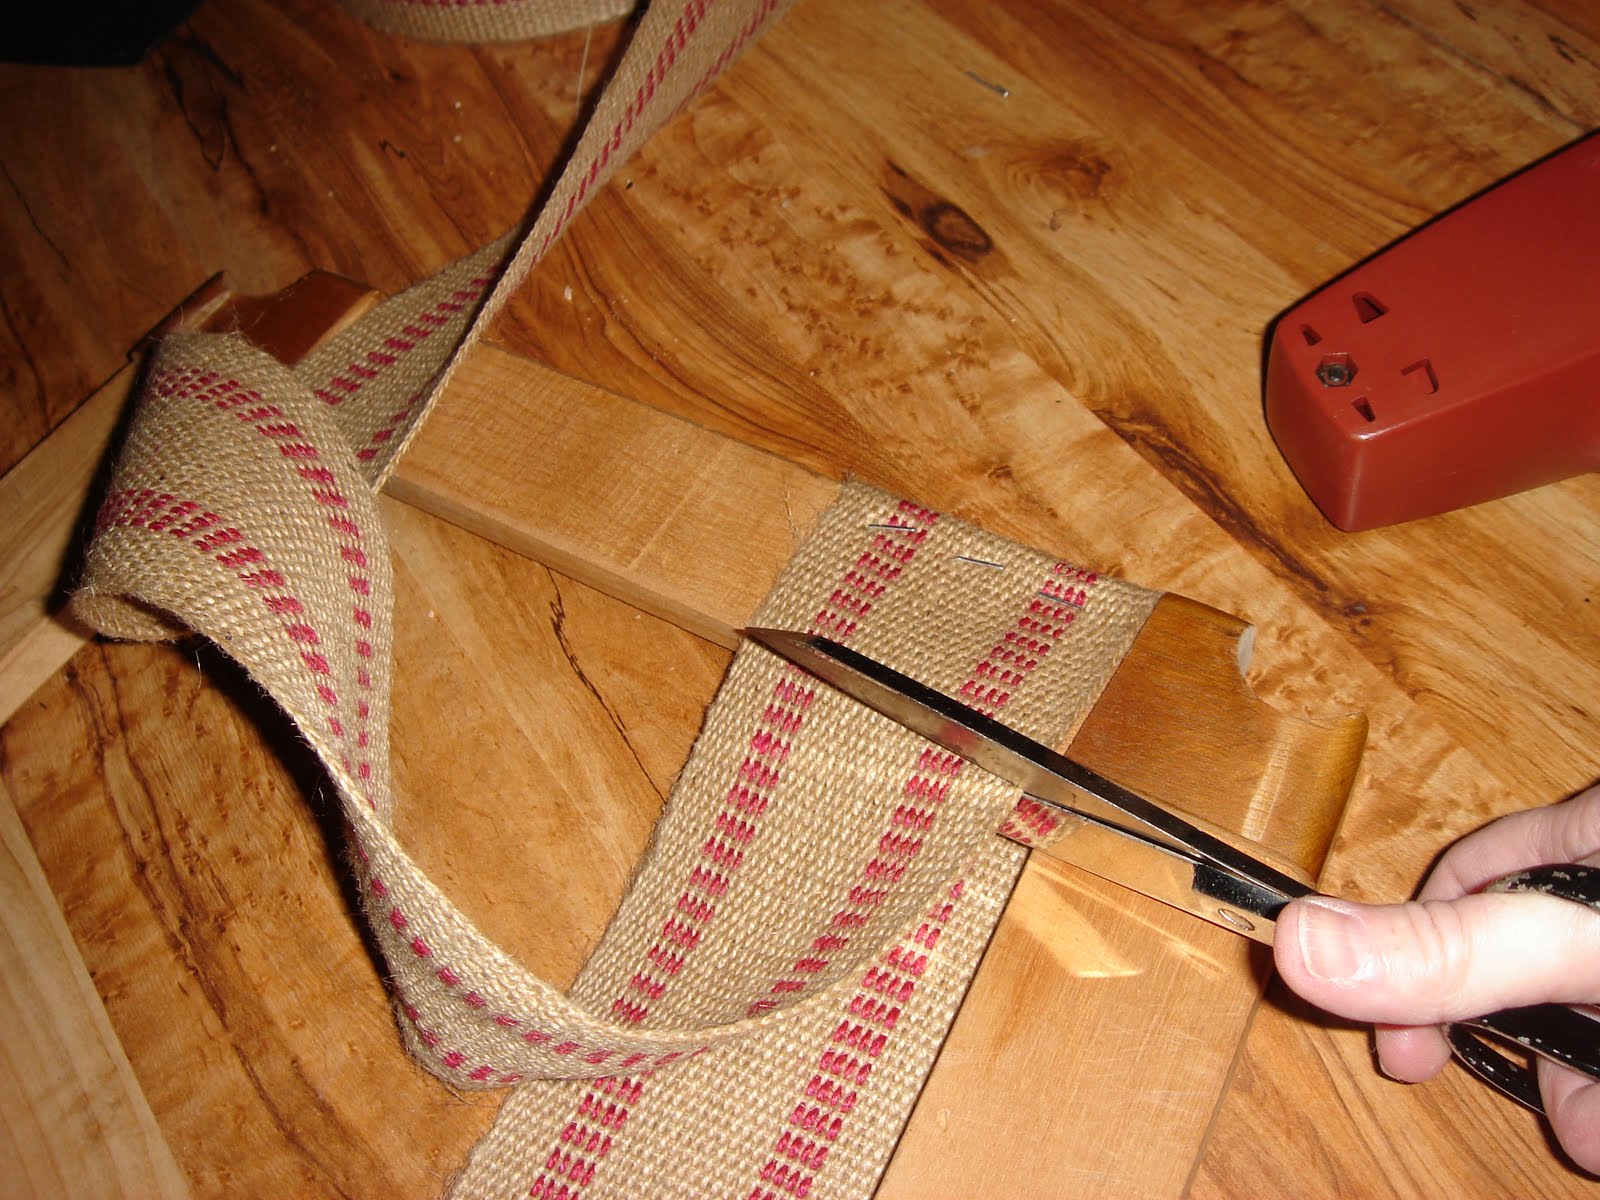
Here we go, her idea was to replace the seats with jute webbing. I am putting on the first strip with my trusty electric staple gun.  I originally thought if I wet the jute and stapled it on wet, it would tighten up as it dried. Not such a great idea. Not only was it sagging after it dried, but the red colors bled.

So, I simply put it on dry and stretched it as tight as I could with one hand and stapled with the other.
I read where you can buy a stretcher, but my own strength seemed to be just fine.

After it is stretched and stapled, I trimmed about 2" away from the staples.

I folded the raw edge under, and stapled it down.

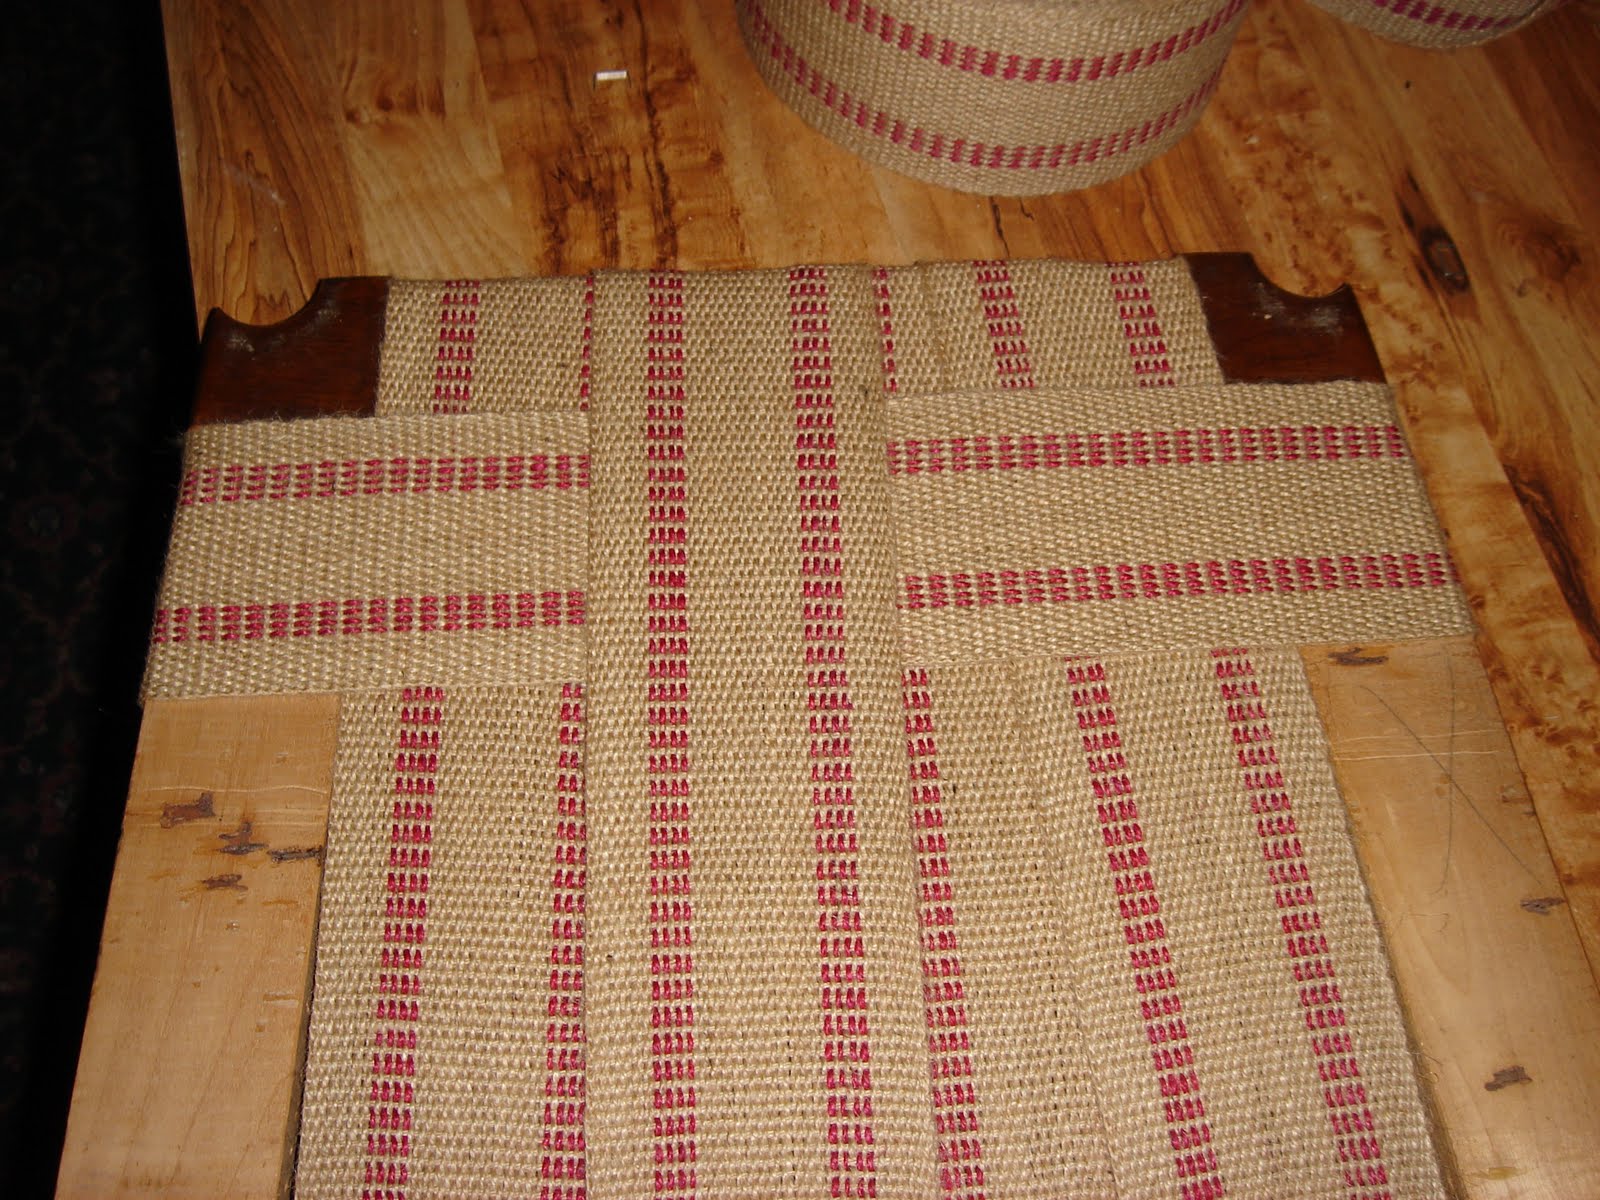
The front to back strips had to overlap slightly since it was wider in the front.

The side to side strips were woven through.

And the seat is finished. I am so happy with how they turned out!

I varied the weaving pattern to mix it up. 
 I think the finished product is in keeping with the vintage style chair with an updated look.
I would love to hear your thoughts. Leave me a note.

Linking to the following parties:


Becolorful
 
Mod Vintage Life
Photobucket
Todays Creative Blog
Furniture Feature Fridays