

Well, I came across four of these chairs in a booth marked 75% off. The best part was that they were originally $10 each. That means $10 for four chairs!? Wow, but would my daughter just kill me for buying one more project? The problem was the seats looked like this.

All four of them were cracked and coming apart. I bought them anyway.
She showed up about 30 minutes later and she thought they were awesome. And,
she had a great idea on how to fix them! I was so relieved.

This is what they looked like as I was unraveling them. I have so much respect for the talented people who weave these rush seats to begin with. That is a challenging job. More than I care to take on.

These particular chairs had removable seats. Four screws and they were off.

Here is the seat after I unscrewed it. You can see I still had a little of the rush to remove. Oh my, were my fingers ever tired!
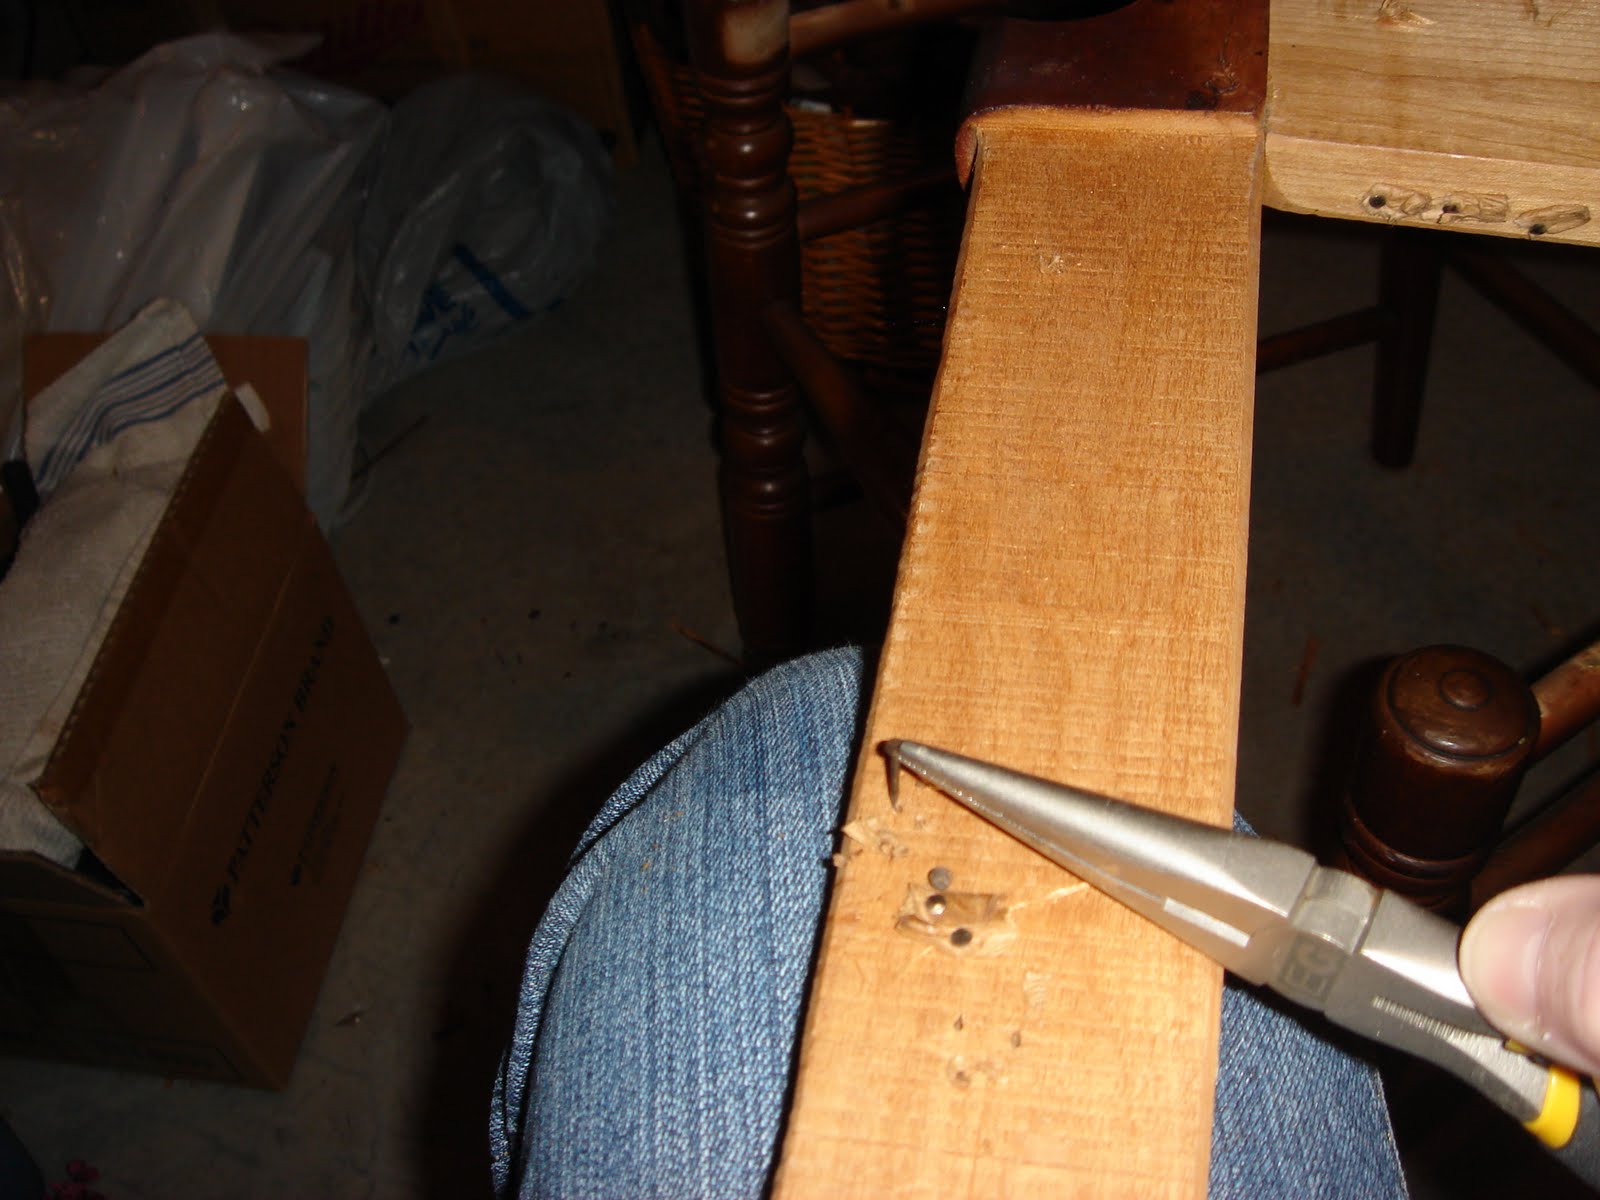
I used a pair of needle nose pliers to remove the remaining tacks that held the ends of the rush.

One of these four chairs was fairly wobbly. I glued it and clamped it overnight and it was a rock.

Here we go, her idea was to replace the seats with jute webbing. I am putting on the first strip with my trusty electric staple gun. I originally thought if I wet the jute and stapled it on wet, it would tighten up as it dried. Not such a great idea. Not only was it sagging after it dried, but the red colors bled.

So, I simply put it on dry and stretched it as tight as I could with one hand and stapled with the other.
I read where you can buy a stretcher, but my own strength seemed to be just fine.
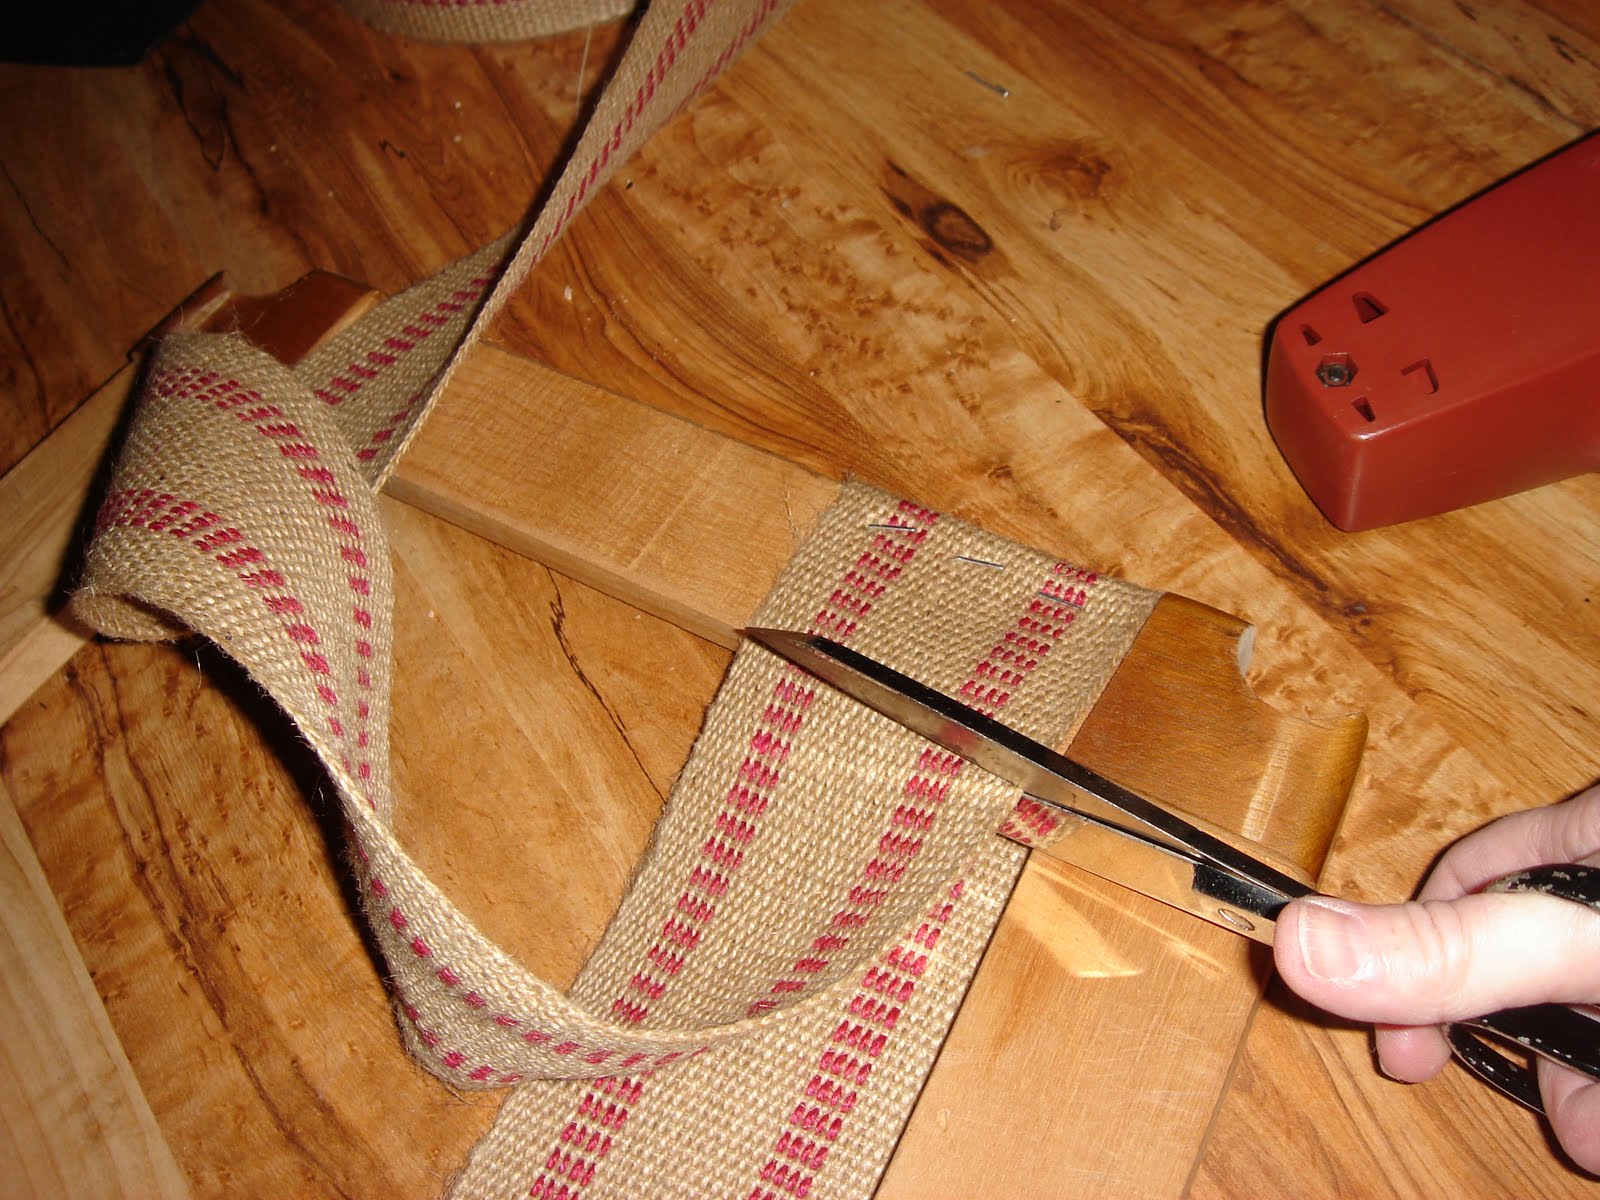
After it is stretched and stapled, I trimmed about 2" away from the staples.

I folded the raw edge under, and stapled it down.

The front to back strips had to overlap slightly since it was wider in the front.
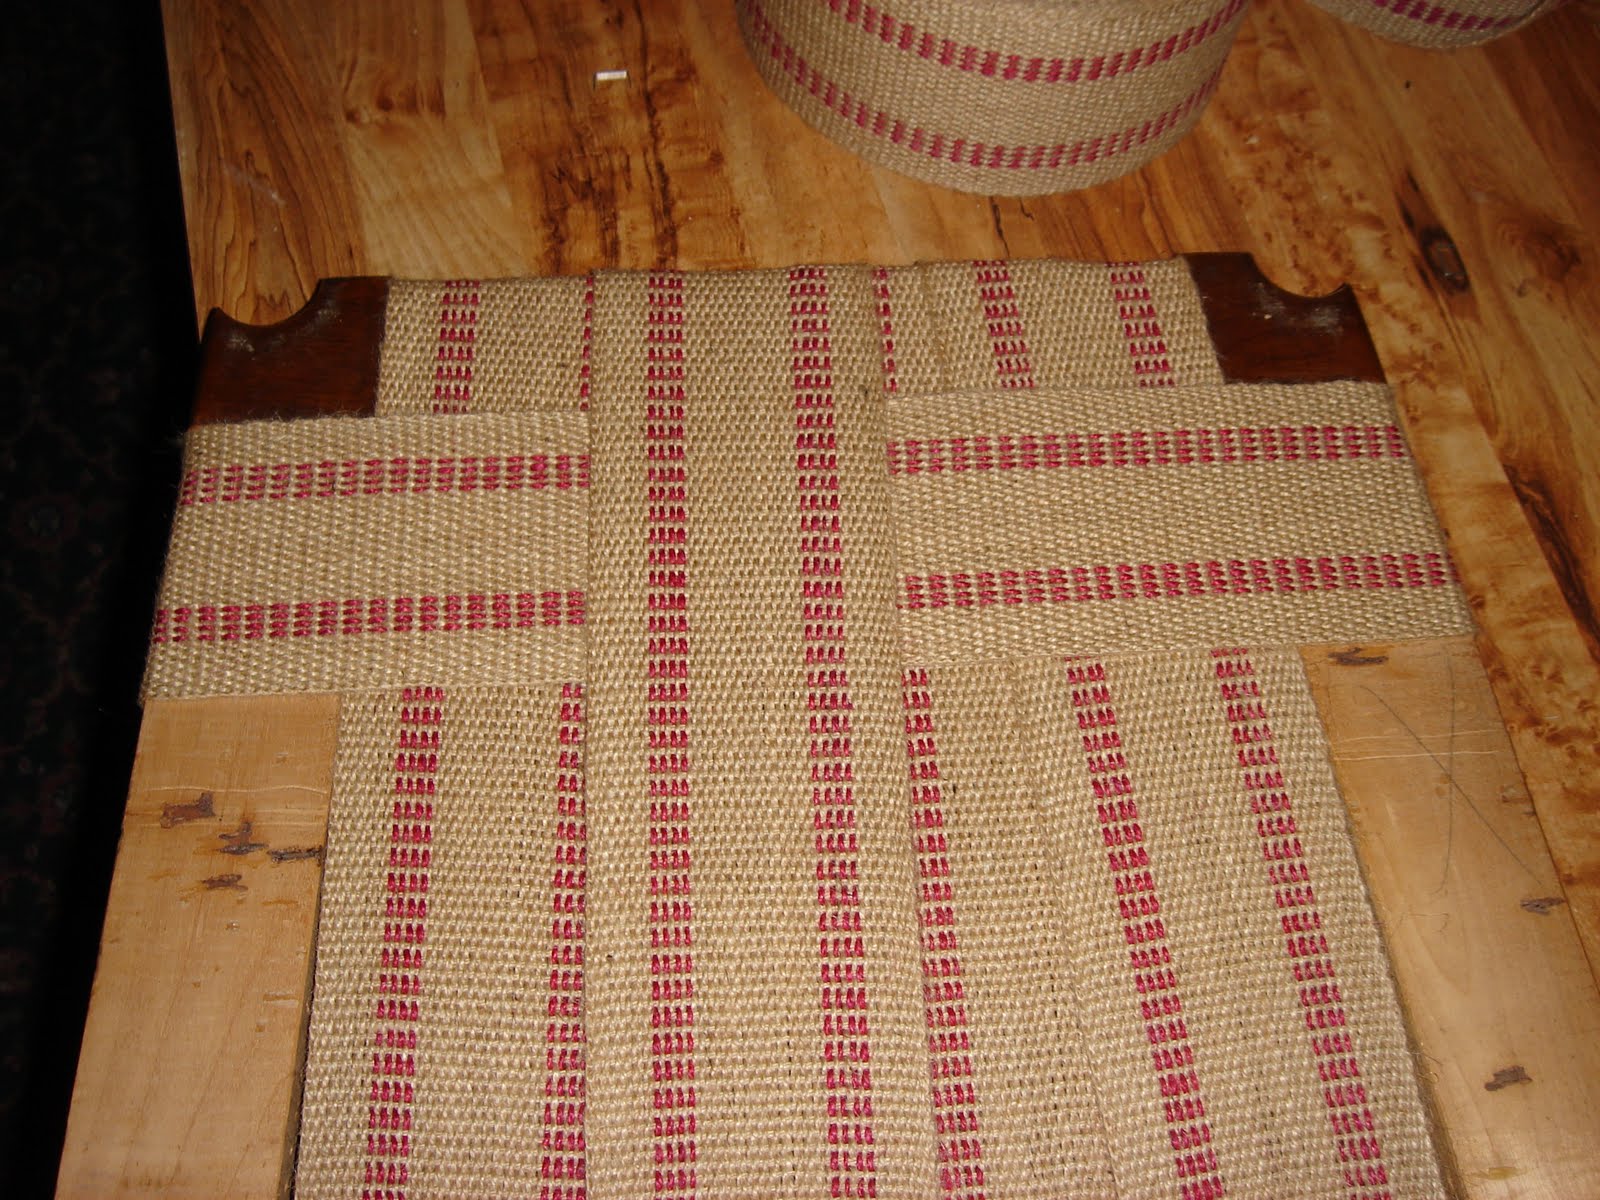
The side to side strips were woven through.

And the seat is finished. I am so happy with how they turned out!

I varied the weaving pattern to mix it up.

I think the finished product is in keeping with the vintage style chair with an updated look.
I would love to hear your thoughts. Leave me a note.
Linking to the following parties:


What a great idea! I have some that were made by my gggrandfather and they have no seats, so that is a wonderful idea for them...Thanks!!
ReplyDeleteI love them! I just did something similar with scrap fabric and a broken chair.
ReplyDeleteHi Ann, It is very expensive to have the rush seats replaced. I love how you used the webbing and what a deal on the chairs! Thank you for joining my Open House party.
ReplyDeletexo,
Sherry
Thanks that is a great post for me.. I have a chair in the attic for years with the same problem. What a great idea.
ReplyDeleteLove the idea, I have a similar chair with a rush seat that needs replacing. I priced shaker tape and it has been sitting waiting for a fix for years. I think I'll try the jute.
ReplyDeleteThis comment has been removed by the author.
ReplyDelete