Thursday, January 31, 2013

Moving In Tips-Nasty Bathroom Cabinets

With our daughter in a new house and so many projects to do, I thought I would share some of the things we are fixing up as we go. Fortunately, she didn't have to move in immediately, since she is living with us. So, we can go in a fix things first, then she can move in. Her house is about 25 years old and was all builder grade quality when new. Now it's old builder grade in lots of ways, with some really nice quality in others. I  will get to those areas as we go, but now I'm gonna show you how I fix some things on a budget.

The bathroom cabinets are the originals, and the floor of the base cabinets (under the sinks) were disintegrating. That lovely old particle board only holds up so long after shampoo and cleaners spill on it. As I was scraping up the nasty residue, the particle board fell apart. Ugh...


She does not have the budget to replace the cabinets, so while we were at Home Depot we picked up some peel and stick tile at 30 cents a square foot.

I'm not really in love with the fake wood look, but it was the smoothest and cheapest choice.
I thought there was only 12 in a box, so I made her buy two boxes. Wen we got it home, I realized
there were 45 pieces per box. Bonus,some of this is going in the return to Home Depot pile.

I cleaned the cabinet bases as well as I could, first with a vacuum, then with a wet rag.
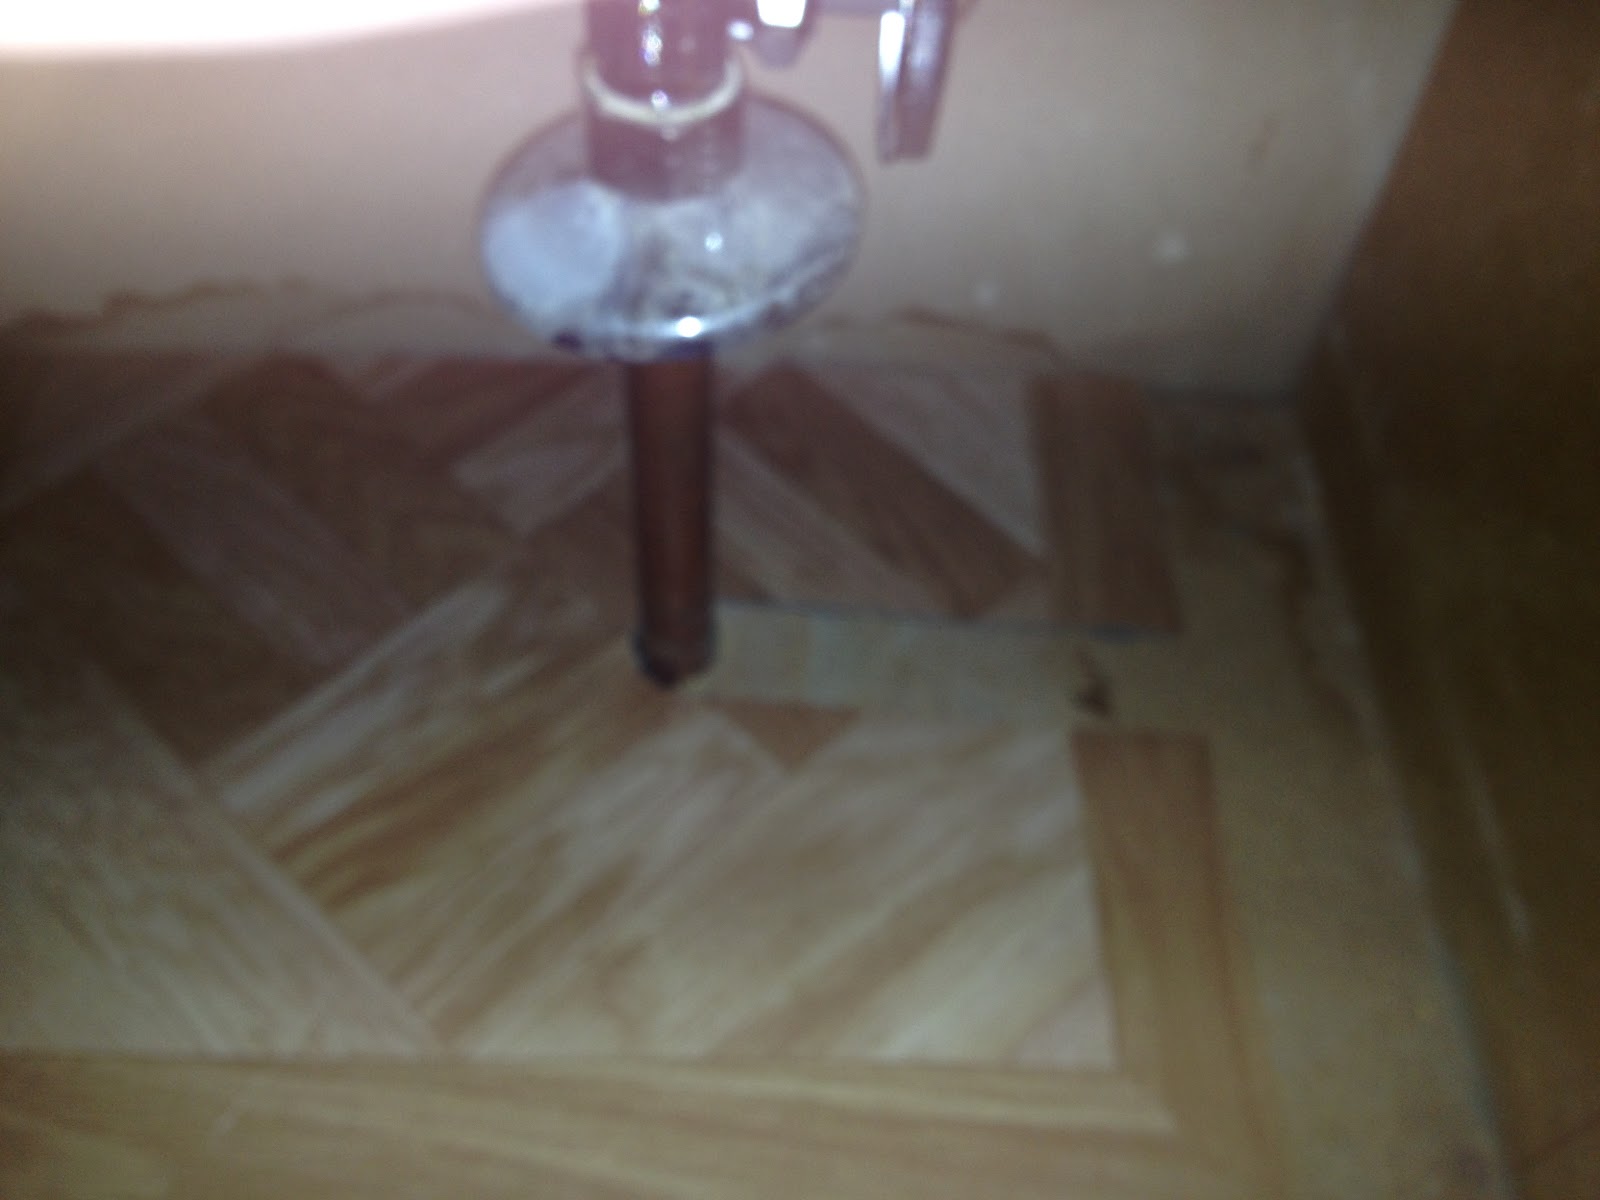
I started laying the tile in the left front cornet of the cabinet and
 just matched the edges up until I got to the pipes.

Then, I took the paper I had peeled off of the first tiles and used it as a template to cut around the pipes.
I had a handy dandy utility knife and just cut the paper to fit.

It cuts very easily with my super sharp utility knife.
Be sure you don't use an old blade, it is no fun to tear tile.
The pieces just break out after you score it.


Slide the cut out and it should fit right in.
I cut of a little piece of the excess and filled in the side.

I had to cut a narrow strip for the side since the cabinet was wider than two feet.
Now it is clean and smooth with no more sawdust.
And, you can wipe up any spills without a mess.

Wah Lah! Clean and fresh cabinet bases on a budget!
Thanks for visiting, hope this is a help to some of you on a budget as well.


I'm sharing this tip at: Beyond The Picket Fence Visit thecsiproject.com
The Self Sufficient HomeAcre

Sunday, January 27, 2013

Restyled Sundays #53

Welcome Back to Restyled Sundays!

It's been an exciting week around here. Jenni (our daughter) 
closed on her house on Thursday and yesterday we finally got
to start working on it. It's really in pretty good shape, but some issues
will keep her from moving in yet. All of the sinks and toilets are leaking :(
Fortunately,  her dad is very handy and can fix a lot of things around the house,
but the kitchen faucet proved to be a bit of a doosy.  He could not get it loose, 
so he had to take the whole sink out. It's funny how things start to spiral out of 
control once one thing needs to be replaced. Now we need to replace the sink 
and the faucet, so is this the time to replace the counter tops as well?
Oh, My how quickly things get complicated. So does she choose granite,
butcher block, concrete??? So many decisions it gets overwhelming.
While she and her dad fus over the details, I am starting to paint ceilings today. 
I fill you in on more of those details in the next few days.

Back to the party, let's see what you all shared last week!
Dianne from Shabby Gals made new cushions for her 
kitchen chairs out of old burlap sacks.
I love the before and after of this kitchen makeover
by Terry at Forever Decorating. It seems so calm
and has a clean updated look.
Check out this amazing French Wire Salad Spinner that
California flea market. I want to go thrifting with her!

And finally, Jo from Minnesota Junker found this vintage receipt holder
on Etsy and turned it into a photo display, really cute idea!

Thanks for sharing these great posts! Be sure to show us what you've been up to this week!


Tuesday, January 22, 2013

The Definition of a Coffee Table

Thanks for stopping by to see what I am up to.
 Don't forget to show me your stuff at Restyled Sundays linky
party every Sunday. There is probably one in progress now.

About two years ago, I stopped at a garage sale late one day and bought this coffee table and two end tables. Since it was late, he gave me all three for $5. I couldn't pass that up then, and probably not now, even though I am on a buying hiatus (so to speak). The other two tables have long ago been refinished and
sold, but this one just sat in the basement waiting for some love.
I painted it grey and really wanted to do something fun with the top.

A few dictionary pages and some Mod Podge and it was looking pretty cool.

I decided to add some of the larger illustrations on top of the rest.
I think it has a shabby chic vibe to it.

Wouldn't this make a fun conversation starter?

I hope someone else loves it as much as I do. Its for sale
at Lone Elm Antiques in Olathe, Kansas.


Sharing at these parties:


Sunday, January 20, 2013

Restyled Sundays #52


Welcome Back to Restyled Sundays

Well it's been a week since I have done anything. I have had the flu, yuk! I am actually feeling somewaht better, but really have no energy. I am forcing myself to get up and get something done. If I am gonna feel lousy, I might as well feel lousy while I am doing something.

I had some great projects I finished before I got sick, but I just haven't had the drive to write anything up. 
I promise I will share them in the next few days, but for now I want to thank those of you
who shared last week. 


Check out this amazing red buffet makeover by 
If the outside wasn't cool enough, 
she added some really cool stencils to the inside to
make it a truly wow piece!


shared some great thrifting finds. You can never go wrong 
with Pyrex bowls!

Paul from One Creative Couple put two old
doors together and turned them into a corner
art gallery. Brilliant!
And Cathy, his wife, created this cool idea board
for her daughters new bedroom redo.
They truly are One Creative Couple

Thanks guys for sharing again. Now let's see if your week 
has been more productive than mine!

Sunday, January 13, 2013


Welcome Back to Restyled Sunday's


Thanks so much for the four of you who shared last week.
 I know it had been a while since I had a party, but I really appreciate your patience.
I definitely want to feature all four of you for posting last week.

her husband redid their basement and he refinished this 
antique scale. Amazing transformation.
Shanna from Restoration Redoux shared her top ten 
projects from 2012. Be sure to check them all out.
Paul from One Creative Couple, took and ugly old chair
and created this masterpiece. All I can say is Wow!
Finally, Helen from Shades of Safhire shared her 
digital scrapbooking pages. So creative Helen!


 Sunday is here again and I can't wait to see what you've been up to.

Saturday, January 12, 2013

The Painted Hutch


It's a miracle, I finally finished a project! The china cabinet/ hutch that was sitting in my antique booth for over a year decided to come home for a makeover. Sorry, this is the best picture I could find. At least you can see how dark it was there in the background. Actually, my son painted the cabinet a while back. We had so much furniture in the antique store, I had just never gotten around to distressing and waxing it. And, of course, life gets in the way and things just sit 90% done.

We used homemade chalk paint with the unsanded grout recipe. The paint was bright white.

This cabinet had lots of details to distress. I love the way it came out.
I changed the wood knobs that were on it to some ORB knobs that I had found
on clearance at Target over a year ago.
These photos are at my booth at Lone Elm antique mall. 
I thought I would get in the Valentines spirit  with the red and white.
More of the same detail at the top!


Turns out, somebody else liked it as much as I did. It
sold the third day it was there!

Thanks for visiting, be sure to come back tomorrow for Restyled Sunday's!

I am showing my hutch off at these parties, check them out!
Blissful and Domestic
504 Main